Prototype 1:
Our first attempt at making a prototype was quite simple with the main idea of it was to attach a knitted sock like cover that can go over the cleats. Of course due to its simple design, this required the least amount of materials. Although it did take a small amount of materials, it still took some time since the cloth was something that a group member knitted. So making another one with the same material would take some time to make from scratch. 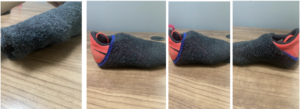
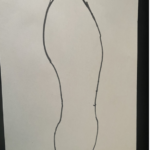
As seen in the images above, it’s a simple design that like said before just covers the bottom of the cleats. Simple, but we got some decent ideas of modification from it.
Prototype 2:
When planning on how our second attempt at a prototype would go, our first thought was how to make using our idea with cleats as comfortable as it can be. As we all know, cleats have studs in the bottom so we needed a way to reduce the pressure and ultimately cushion each individual stud. So our first idea was some Styrofoam/memory foam from an old exercise mat.
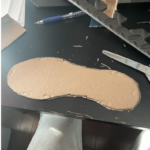
As you can see from the picture above, we attached that said foam to the top of two pieces of hard cardboard that were paper clipped together.
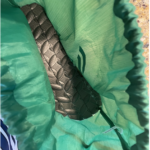
When first thinking of how to go through the tightening of the cleat shield, we thought of a unique and interesting approach which was simply to attach the main piece of a string bag to the top of the shoe. Describing how we did this, we cut a string bag in half since we were only interested in the part that tightens the bag. when we had this piece ready, we hot glued the bottom of the top half of the bag onto the parameter of the base.
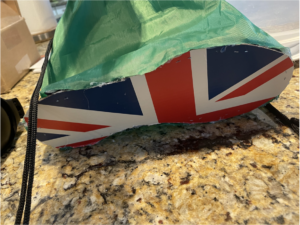
Testing of prototype 2:
Since this was one of the first few prototypes, we opted to do just one side of the shoe since if one side of the shoe worked, then of course the other side would as well. We also didn’t want to use up all our materials at first. But besides that, we of course tested this prototype with the cleats. To put it simply, the cleats when on fit pretty easily within the
Prototype 2 video links:
https://drive.google.com/file/d/1leoVO_bz18gRwWUi8PEJwM8m15THJ9GI/view?usp=share_link – Putting on prototype 2
https://drive.google.com/file/d/1oNpWQbeazd6rFUBtrmsFKPn-xOH0MXXm/view?usp=share_link – Testing prototype 2
Prototype 3:
To start off, this prototype took over most of our time and efforts compared to the other ones we have mentioned. We took the feedback that we have gotten from the athletes when referring to the last other prototypes and seemed to have made a pretty decent attempt at what we were really going for regarding our project
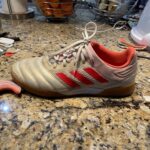
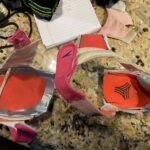
The image above includes the starting material or object that the entirety of the prototype was going to consist of which was this indoor soccer shoe. as seen from the image above to the right, the shoe was entirely split in half and Velcro arms that extend can tighten to hold the cleat securely. We completely cut off the top part of the shoe since the cleats were going to reside on top of it and the reasoning for cutting the shoe in half was because not everyone has the same length of feet so this results in a person being able to adjust to their preferred length.
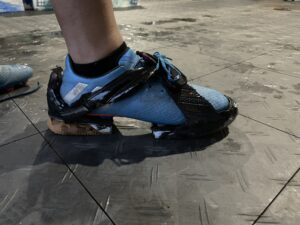
Above is the final product of this prototype. As you can see, there are 4 different arms that each have a set of Velcro so that they can attach to each other. At first, we planned to make it so the velcro arms attach to each other directly across form each other, but we tested to see if it would make a difference if we attached them diagonally to form sort of a X shape look which in the end turned out to be a good idea since it held the cleat a lot better. The cleat shield was painted black to make it more visually pleasing.
Testing of prototype 3:
We tested this prototype once again with some athletes who play soccer and to put it simply, everything went really well. Our main concern was will this prototype be able to stay on the shoe securely, and in the end, it was way more secure than expected. we had our athlete walk around with them at a good pace and they stayed on without any problems. Regarding what the athlete thought about it, he said that it was a lot more comfortable than he expected and that there was no issue regarding his balance when on feet.
https://www.kapwing.com/videos/644c7b1d5554970045d5d82d – Putting on Prototype 3
https://drive.google.com/file/d/1Cwh7vkYjiyawjBCpNkKbwo2kuXP5Tnn9/view?usp=share_link Taking off prototype 3
https://drive.google.com/file/d/1zOpgAIfbWbtLJcrvIHd8K4cKQHJZh65D/view?usp=share_link -Testing prototype 3
